


STEEP THE GRAINS
Steeping is process of extracting flavor from the crushed grains that will become the base of the wort (pronounced wert). The wort will eventually become sweet, delicious beer.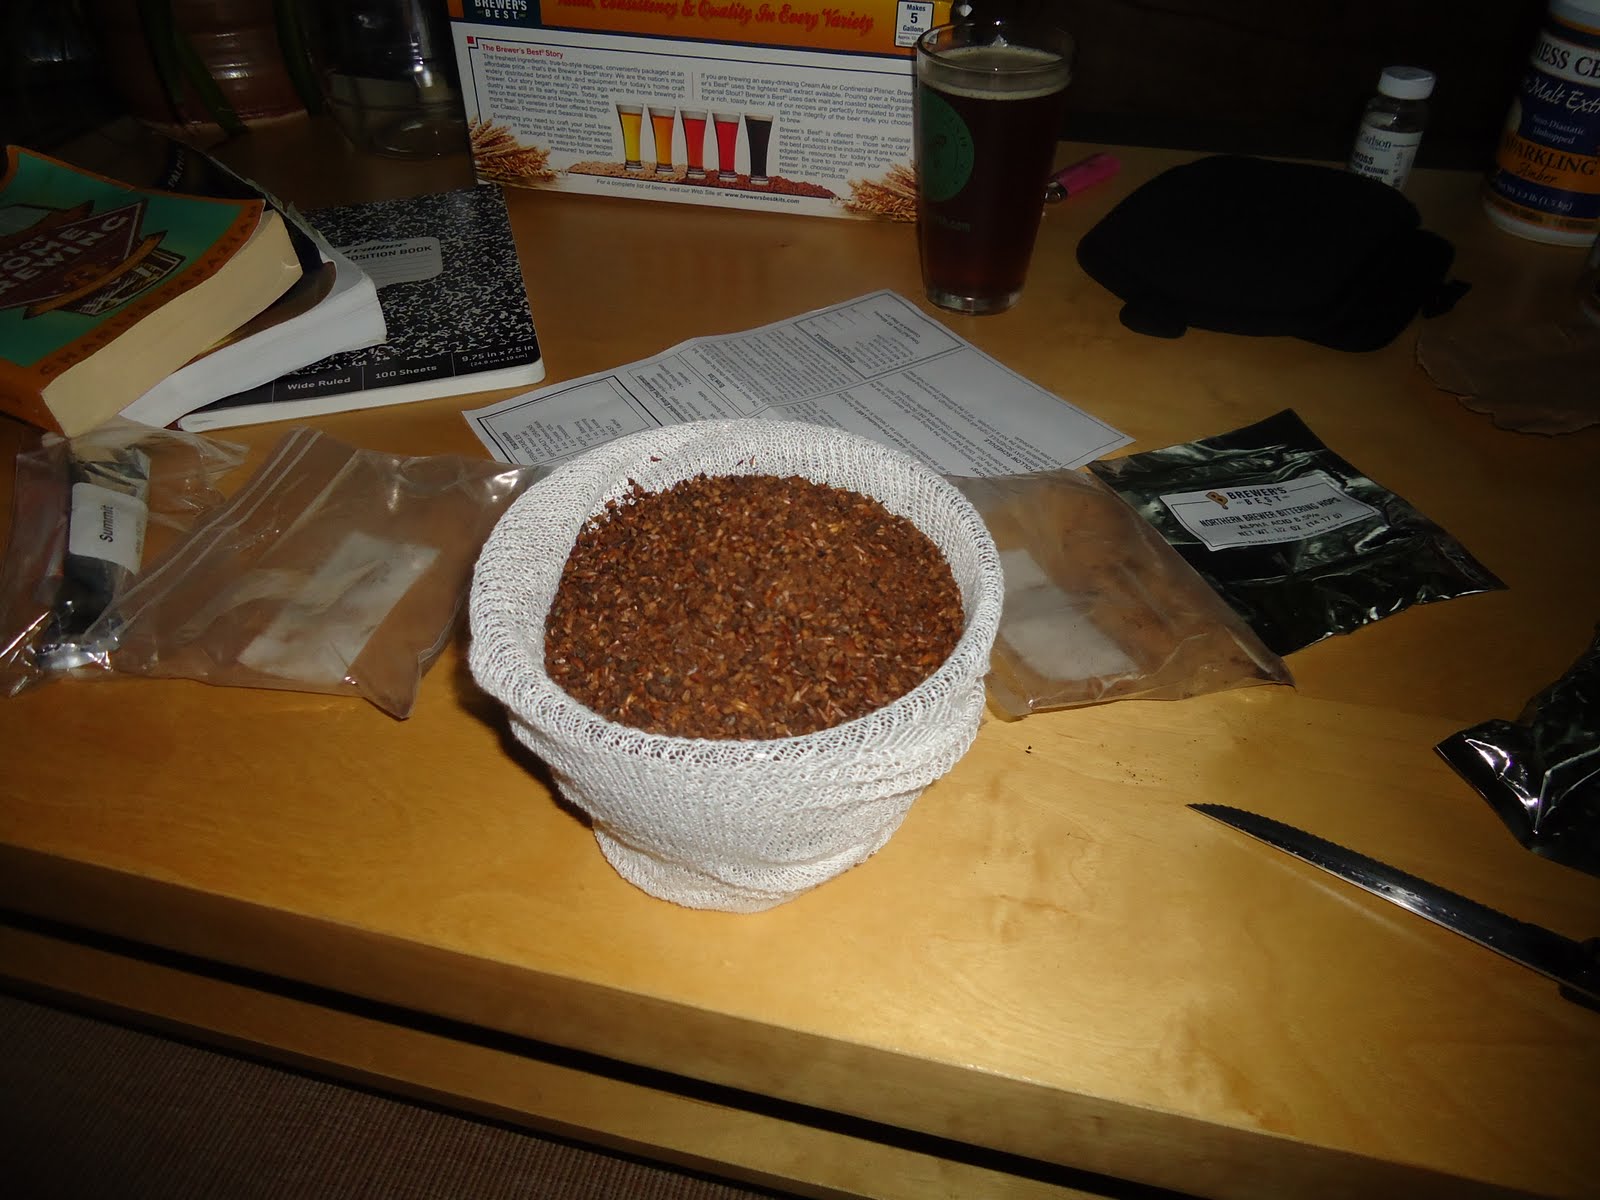

Add the bag of grains when the temperature of the water approaches 150F. Make sure the temperature doesn't exceed 170F because this can introduce tannins that create off flavors in the finished product. Treat it like a huge tea bag by dunking and swirling it every so often. Let the grains steep for approximately 20 minutes. Without squeezing, allow all the liquid to drain from the bag when removing.


START THE BOIL
Now is time to turn up the heat and get started! While waiting for the wort to reach a gentle boil, reserve 1c of hot water into a sanitized Pyrex container. Use the boiled water from the stove prepared earlier (I'll come back to this later). The rest of that water can be used to submerge the unopened containers of liquid malt extract (LME). LME is very thick, making it hard to pour. Submerging the containers in the hot water makes the LME more viscous. Believe me, this makes the job much easier.
 I've found it safer to remove the brew pot from the burner when adding ingredients. When adding ingredients like LME, and more so with hops, the boil usually intensifies. If you're not careful you run the rest of your wort boiling over... not fun. Make sure to stir the LME completely so nothing burns at the bottom of your pot.
 Oh yeah...
ADDING THE HOPS

I can say with confidence that I am a hop head. I'm really looking forward to trying all kinds of hops when they're in season. The porter calls for 3 types added in different stages during the 1 hour boiling time. Most kits include pellets instead of whole hops since they keep longer:
REHYDRATE THE YEAST

About halfway through the boil it's time to rehydrate the dried yeast. Make sure the temperature is warm, but not hot because this could kill the poor yeast. Sprinkle the contents of the yeast package over the water, but DON'T STIR. Cover the Pyrex with tin foil or plastic wrap and let it sit for 15 minutes. After 15 minutes it's okay to stir gently but re-cover and let sit for another 15 minutes. This will suspend the yeast activity and will aide with the fermentation process. Now, get back to that brew pot before it boils over!
COOLING THE WORT
- Northern Brewers Bittering Hops (Alpha Acid 8.5%): 1/2 oz added at the beginning of the boil
- Willamette Flavoring Hops (Alpha Acid 4.9%): 1 oz added 30 minutes into the boil
- Willamette Aroma Hops (Alpha Acid 4.7%): 1/2 oz added 25 minutes later. Let the wort boil for 5 more minutes then terminate.
REHYDRATE THE YEAST

About halfway through the boil it's time to rehydrate the dried yeast. Make sure the temperature is warm, but not hot because this could kill the poor yeast. Sprinkle the contents of the yeast package over the water, but DON'T STIR. Cover the Pyrex with tin foil or plastic wrap and let it sit for 15 minutes. After 15 minutes it's okay to stir gently but re-cover and let sit for another 15 minutes. This will suspend the yeast activity and will aide with the fermentation process. Now, get back to that brew pot before it boils over!
COOLING THE WORT
Once the 60 minutes is up terminate the boil and quickly cool the wort. Cooling the wort is essential to the brewing process because the longer it takes, the larger risk of chill haze. This is a noticeable haze that occurs when beer is chilled for drinking. Although this doesn't change the taste, it can make the beer unappealing. Something tells me it wouldn't matter to me, but others might be bothered.

I'm learning there's many methods to cooliong. I use the ole' ice in the kitchen sink method. I'll also freeze some plastic water or soda bottles so I don't have to buy that much ice. It took me around 20 minutes to get to the target of 70F. While this is happening I got my sanitized primary bucket ready. I added about 2 gallons of water, put the lid on, and shook the water aggressively to aerate it.
TRANSFER THE WORT

 Storing the porter in it's new home for a few weeks. The little plastic piece on top is an air lock filled with sanitized water. This is where the CO2 escapes during fermentation and is definitely the main event. I can happily say that sucker is bubbling nicely a little over 24 hours into fermentation. This is a good sign because it means the yeast is healthy and the beer is doing it's thing.
To be continued...

I'm learning there's many methods to cooliong. I use the ole' ice in the kitchen sink method. I'll also freeze some plastic water or soda bottles so I don't have to buy that much ice. It took me around 20 minutes to get to the target of 70F. While this is happening I got my sanitized primary bucket ready. I added about 2 gallons of water, put the lid on, and shook the water aggressively to aerate it.
TRANSFER THE WORT

Transfer the wort into the primary using a sanitized strainer to keep as much trub (pronounced troob aka gunk) from transferring. Splashing the wort around while pouring is encouraged to aerate. Once finished fill with water to around 5 gallons total.
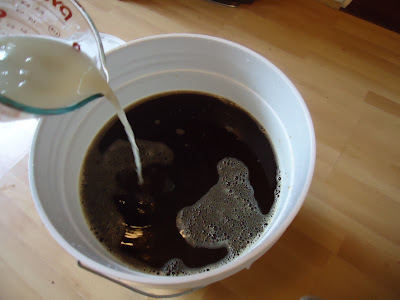
Next, I add my hydrated yeast to the party. Pour the now creamy yeast evenly over the wort, seal the lid, cover the hole with the plastic wrap and shake her up! This will further aerate the wort, which basically gets the primary fermentation stage off on the right foot. The last step before the wort is stored for primary fermentation is to steal a small sample for a hydrometer reading. I forgot to take a picture of this, but no worries... I'll be checking again in about a week. The original gravity (OG) was 1.044. The target was anywhere between 1.051 and 1.055. So I was a little short and have found this common with extract kits. I think the temperature of the sample could have threw it off too. Regardless not too bad...

Next, I add my hydrated yeast to the party. Pour the now creamy yeast evenly over the wort, seal the lid, cover the hole with the plastic wrap and shake her up! This will further aerate the wort, which basically gets the primary fermentation stage off on the right foot. The last step before the wort is stored for primary fermentation is to steal a small sample for a hydrometer reading. I forgot to take a picture of this, but no worries... I'll be checking again in about a week. The original gravity (OG) was 1.044. The target was anywhere between 1.051 and 1.055. So I was a little short and have found this common with extract kits. I think the temperature of the sample could have threw it off too. Regardless not too bad...
 Storing the porter in it's new home for a few weeks. The little plastic piece on top is an air lock filled with sanitized water. This is where the CO2 escapes during fermentation and is definitely the main event. I can happily say that sucker is bubbling nicely a little over 24 hours into fermentation. This is a good sign because it means the yeast is healthy and the beer is doing it's thing.
To be continued...
mmm can't wait to taste it
ReplyDeleteCall me when it's sampling time dearest nephew!
ReplyDeleteI just bought my first kit and went with the Robust Porter as well. Your blog is great! I read every word in great detail! Thanks!
ReplyDelete